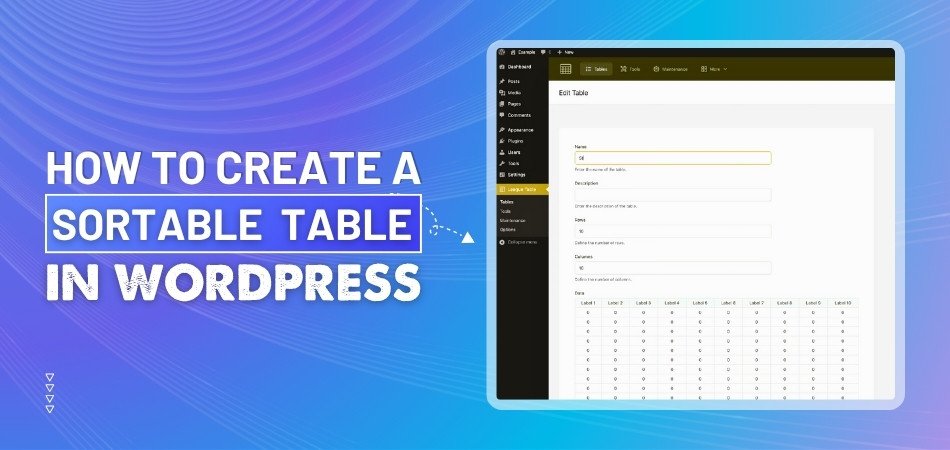
How to Create a Table With Multiple Columns in WordPress?
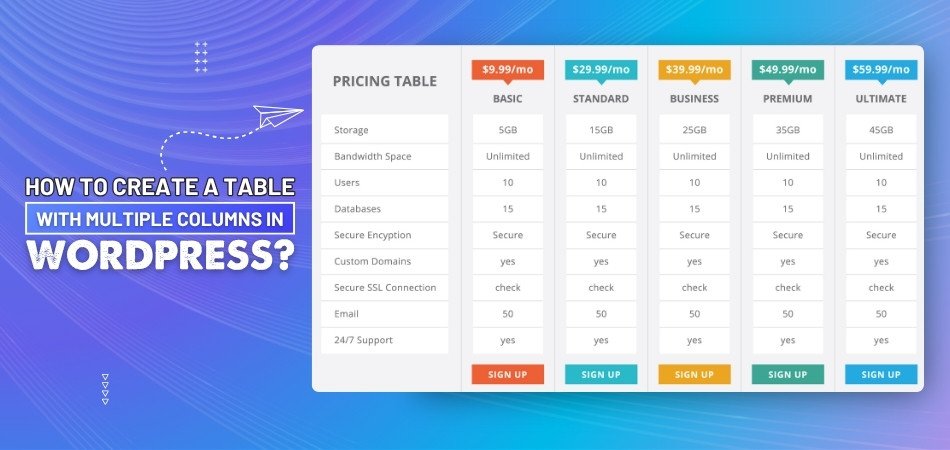
Creating a table in WordPress with multiple columns is a simple but powerful way to organize your content and make it more engaging for your readers. When sharing data, comparing items, or listing information, a table can make your content easier to comprehend. But how to create a table with multiple columns in WordPress?
To create a table with multiple columns in WordPress, open your post, use the “Table” block, choose your rows and columns, and add content. You can resize, style, and customize it easily. For advanced options, try plugins like TablePress or tools like OneClickTable for extra features.
The rest of the article will explain all the procedures in detail, so be sure to read it thoroughly.
How to Create a Table With Multiple Columns in WordPress?
A table with multiple columns in WordPress is an easy way to organize and present information. You can make your posts and pages more engaging and organized by adding structured tables. Here's how you can do it:

Open Your WordPress Post
To start, log into your WordPress dashboard and open the post or page where you want to add the table. You can either make a new post or edit an old one. Once inside the editor, click where you want to insert the table. This will be the spot where the table shows up. It’s good to plan ahead so your table fits well with the rest of the content.
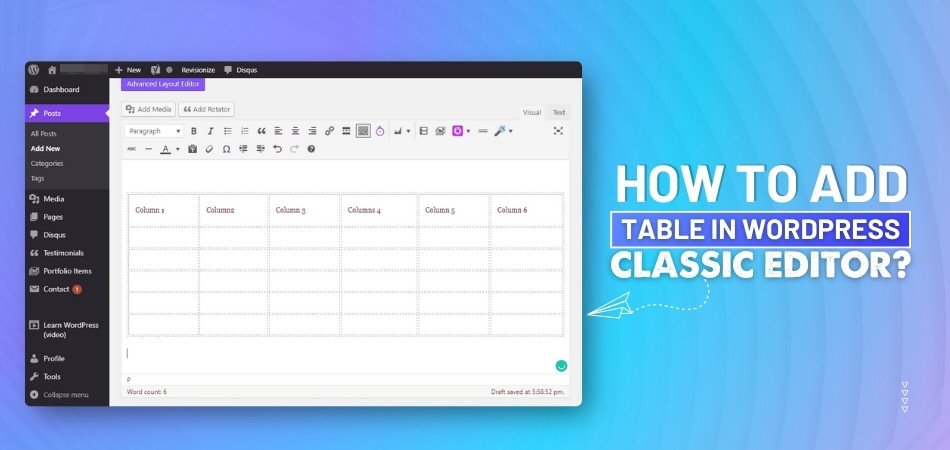
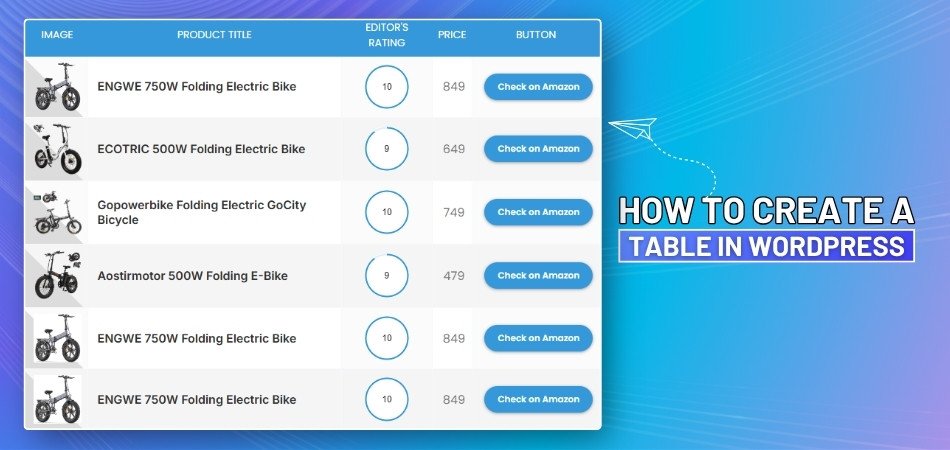
Use the Table Block
WordPress has a built-in block called the “Table” block. Just click the plus (+) sign to add a block and search for “Table.” When you find it, click to add it to your post. A small box will appear asking how many rows and columns you want. Pick the number you need and hit “Create.”
Add Your Content
Now that your table is in place, click inside each box to type your text. You can add words, numbers, or even small images. To move between boxes, just press the Tab key or click inside the box you want. Take your time to fill it in nicely. You can always go back and change things later.
Change Table Size
If you need to make your table bigger or smaller, that’s easy too. Click on the table, and you’ll see some settings on the right side of the screen. You can change the number of columns or rows anytime. You can also adjust the width to make it fit better. This way, your table looks just the way you want it.
Style Your Table
You can use the styling options to add colors, borders, or bold text. Click the table and check out the settings on the right. You can change how the text looks or make the top row stand out. A little bit of styling can make your table easier to read.
Use a Table Plugin or Tool
If you want more features than the basic table block, you can use a plugin or tool. TablePress is a good choice for advanced tables with sorting and filters. Another option is One Click Table, which gives you pre-built templates and easy customization. With the oneclicktable tool, you can create tables quickly without much effort. Your site can look professional with these tools and plugins.
Save and Preview
Once your table looks good, don’t forget to save your post. It’s also a good idea to preview it before you publish. This lets you see exactly how it will appear to your readers. If something doesn’t look right, you can fix it before sharing. When you're happy, hit the publish button.
Minimalist vs. Decorative Table Designs in WordPress: What Works Best?
When designing tables in WordPress, choosing between minimalist and decorative styles can affect how your content is seen. Each style has its strengths depending on your purpose. Let’s compare both to help you decide what works best.
| Point | Minimalist Table Design | Decorative Table Design |
| Look and Feel | Clean and simple | Bold and visually rich |
| Focus | Keeps attention on the content | Focus spreads between design and content |
| Load Speed | Loads faster due to fewer elements | Might load slower with extra styles |
| Readability | Very high and easy to scan | May reduce clarity if over-styled |
| Customization | Limited but clean options | Offers more design flexibility |
| Best Use Case | Data, reports, pricing tables | Portfolios, product highlights, creative blogs |
| Mobile Friendly | Easily adjusts to small screens | May require extra tweaks for mobile |
| User Experience | Simple and smooth | Can be engaging if done right |
| Setup Time | Quick and easy to set up | Takes more time to design |
| Styling Tools Needed | Often fine with built-in tools | May need CSS or advanced plugins |
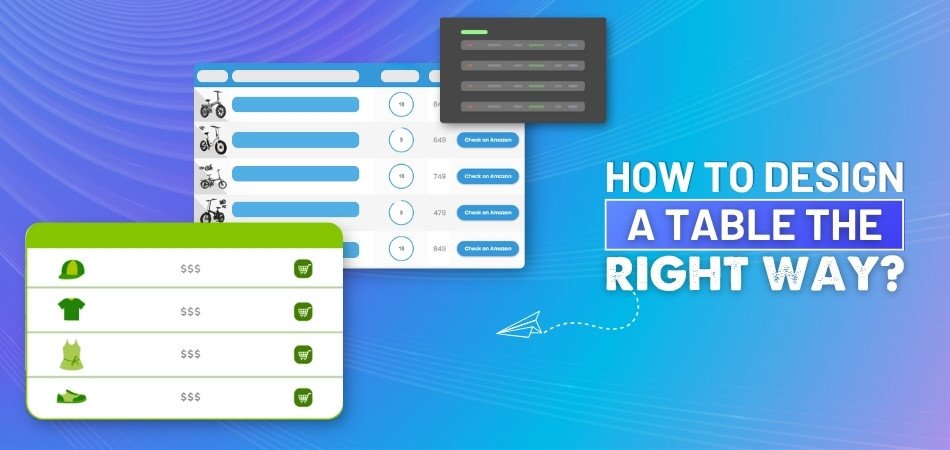
Best Way to Style WordPress Tables Without Coding
If you're unfamiliar with coding, styling a table in WordPress can be challenging. Fortunately, there are a few simple ways to make your tables look better. You don’t need any coding skills or special tools. Just a few simple clicks can make your table neat and attractive. Here's how you can easily style WordPress tables.
Use Table Block Settings
The WordPress Table block comes with built-in settings. Once you add a table, you can click on it to see options on the right side. You can change the text alignment, add a header row, or even make the table wider. These small changes can make your table easier to read. It’s a quick and easy way to improve the look of your table.
Add Background Colors
Adding background colors can make your table stand out. You can highlight the header row with a different color to make it pop. Some plugins and themes let you do this with just one click. Try not to use too many colors—stick to two or three for a clean look. A little color can make your table more fun and easier to follow.
Bold and Align Text
Making text bold is a simple trick that works really well. Use bold text for your header row or important columns. You can also center or left-align text depending on what looks best. These small changes help people understand your table faster. You can do this easily with the toolbar above the table.
Use Simple Fonts
When it comes to designing tables in WordPress, stick with simple fonts that are easy to read. Fancy or curly fonts can make your table hard to understand. Most WordPress themes already use clean fonts, so you don’t have to change much. If your theme allows font settings, choose one that looks clear and neat. Simple fonts help keep your table easy on the eyes.
Add Borders and Spacing
Borders help separate each cell so the table looks more organized. You can turn on borders from the settings or use a plugin that adds border styles. Adding a little space between text and cell edges also helps. Spacing makes the table feel less crowded. These small changes can make a big difference in how your table looks.
Use a Styling Plugin
If you want more design choices, using a styling plugin can really help. These plugins give you ready-made design options like colors, borders, and row highlights. You don’t need to know any coding to use them—just click and choose what looks good. Many plugins also let you preview changes before you apply them. It’s a simple way to make your tables look clean and professional.
How Table Tools Like One Click Table Simplify Table Creation?
Creating tables by hand can take a lot of time and feel confusing, especially when you want them to look good. But there are tools called One Click Table that make the whole process faster and easier. You don’t need any coding or special skills to use them. Just a few clicks and your table is ready to go. Here's how these tools make table creation easy:
Ready-Made Templates
One of the best things about One Click Table tools is that they give you pre-designed templates. You don’t have to start from scratch or figure out how to line everything up. Just pick a template that fits your needs and fill in your content. It saves time and effort. Plus, the templates already look clean and professional.
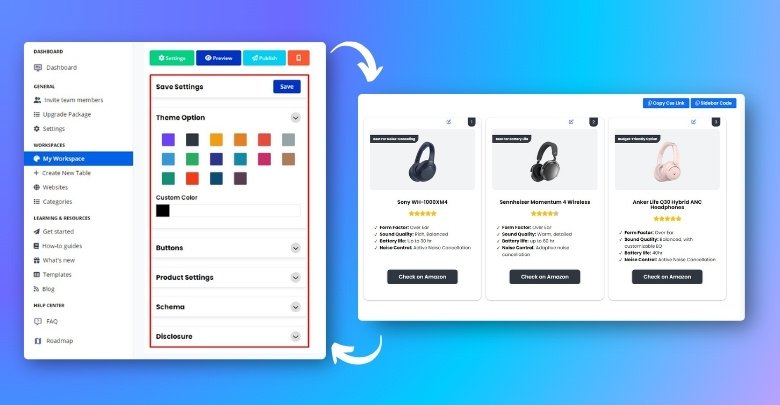
Easy Customization
With just a few clicks, you can change colors, text size, and layout. You don’t have to touch any code or worry about breaking anything. Most options are easy to understand, like checkboxes and sliders. You can match the table style to your website in no time. It’s all about keeping things simple.
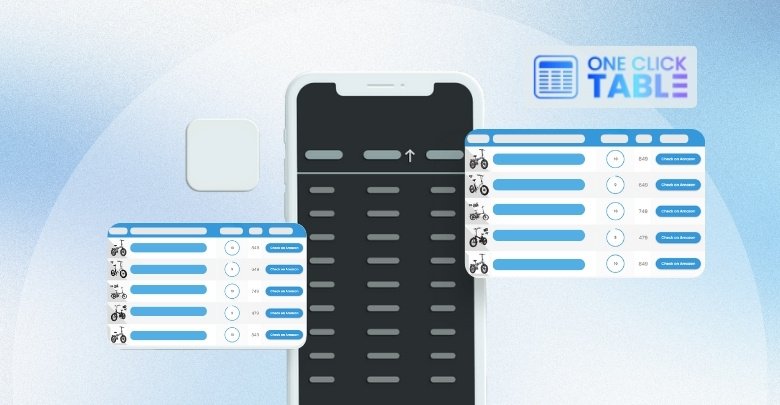
Mobile-Friendly Design
These tools make sure your table looks good on phones, tablets, and computers. You don’t have to do anything extra to make it work. The table will adjust its size so people can read it easily on any screen. This helps your site look more organized everywhere. It’s great for saving time and avoiding layout issues.
Time-Saving Process
You can build a table in just a few minutes using a tool like this. No need to mess around with layouts or figure out how to add rows and columns manually. Everything is already built into the tool to help you move faster. Just add your content and hit save. It’s a big time-saver, especially when you have a lot to do.
No Coding Needed
One of the biggest benefits is that you don’t need to know any coding. Everything works with clicks, drag-and-drop, or simple text input. You don’t have to worry about making mistakes with code or learning anything technical. That makes it super easy for anyone to use. It’s all about keeping it stress-free.
Organized and Clean Look
One Click Table helps you keep your tables neat and easy to read. Rows, columns, and content are lined up just right. You can add things like borders, background colors, and bold text to make the table clearer. Clean tables make it easier for people to understand your information. It makes your page look better too.
What to Do to Ensure Your Multiple Columns Table Looks Good on Mobile Devices?
On a big screen, tables with many columns look great, but on a smaller screen, they can look messy. If your table isn’t mobile-friendly, people might not understand the content properly. Fortunately, there are simple fixes to this problem. You don’t need to be a tech expert or change any code. Here are some tips on how to make your tables look great on any screen:
Keep Columns Short
Too much text in one column can make your table stretch too wide. Try to keep your column titles and content short and simple. This helps the table fit better on small screens. If you need to explain more, use tooltips or short notes below. The less crowded it looks, the better it works on mobile.
Use the Scroll Option
One good trick is adding a scroll feature to your table. This means the table stays inside the screen, and users can swipe left or right to see more columns. Many table tools have this built-in already. It’s a clean way to show a lot of data without breaking the layout. Make sure scrolling is smooth and easy to use.
Stack for Small Screens
Some tools let you stack table rows into blocks on small screens. This means instead of showing all columns side by side, it shows them one under another. It may look different, but it’s much easier to read on a phone. This style works well for tables with lots of details. It keeps things clear and neat.
Avoid Too Many Columns
If your table has too many columns, try to remove the ones that aren’t important. Keep only the useful ones, especially for mobile viewers. You can always move the extra info below the table or in a note. A simple table is easier to understand and loads faster. Less is more when it comes to small screens.
Use Responsive Plugins
Some plugins are built to handle a responsive table in WordPress better. These tools automatically adjust your table to fit any screen size. You don’t have to change anything—it just works. They make sure nothing goes out of place or gets cut off. A good plugin can save time and improve how your table looks everywhere.
Test Before Publishing
Always check your table on a phone or tablet before publishing your post. This helps you see how others will view it. If something doesn’t look right, go back and adjust it. Testing only takes a minute, but it can make a big difference. A quick check can save your readers from a bad experience.
Commonly Asked Questions
The use of tables in WordPress can improve your content's clarity, but many people still have questions about certain features or details. Here are answers to common queries that haven't been discussed earlier, helping you make better use of WordPress tables:
How Can I Resize Columns in WordPress Tables?
Resizing columns in WordPress tables is easy. Once you insert a table using the Table block, simply click on the column border and drag it to your desired size. This method gives you direct control over how wide or narrow the columns are, making it easier to fit your content within the table. Keep in mind that very wide columns might look messy, so it’s good to keep them balanced for readability.
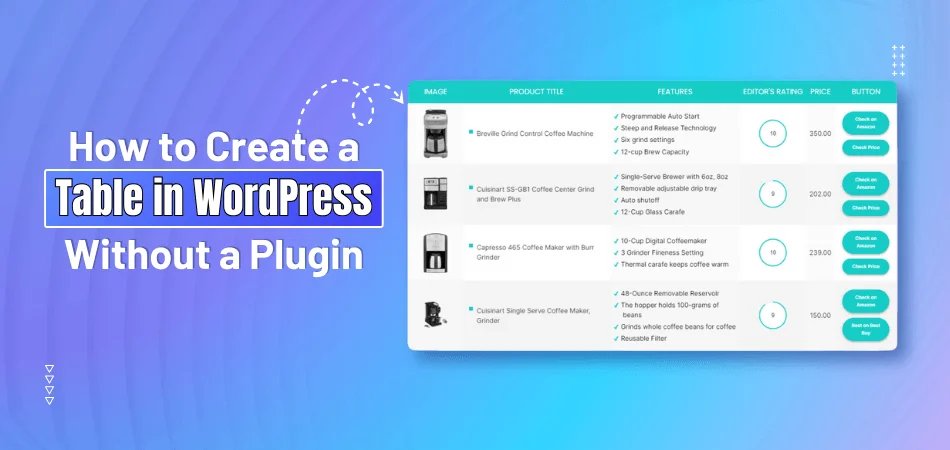
Can I Add Images in WordPress Tables?
Yes, you can easily add images inside the cells of a WordPress table. After inserting your table, click into a cell, and you can add an image just like you would in a regular post or page. You can either upload an image from your media library or add an image URL. This is helpful when displaying product images, charts, or other visuals within the table.
Is It Possible to Sort Data in WordPress Tables?
By default, WordPress tables don’t support sorting. However, you can install plugins like TablePress that offer advanced features such as sortable tables. With such plugins, users can click on column headers to sort the data in ascending or descending order. This makes it easier to manage and present large datasets for your readers.
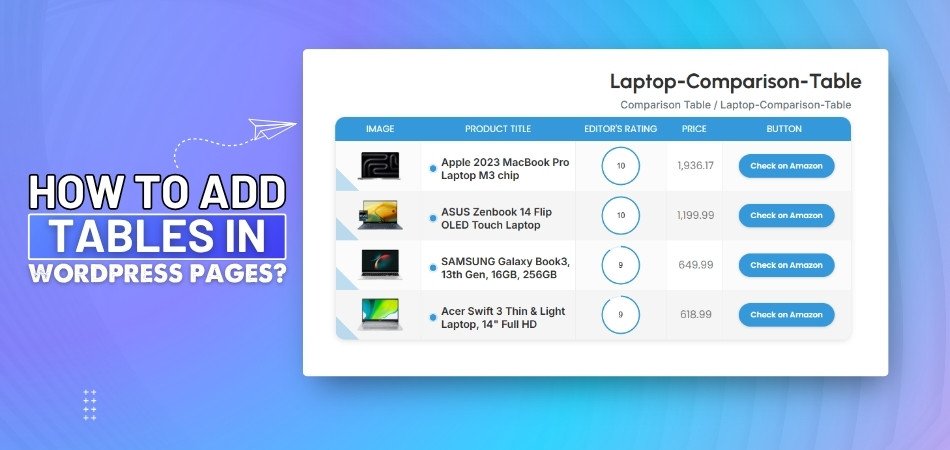
Can I Use Tables for Pricing Lists?
Yes, tables are great for displaying pricing lists in WordPress. You can create a table with multiple columns to list different pricing options, product features, or service packages. Each column can represent a different product or package, and rows can be used for different features, making it easy for your readers to compare.
How Do I Add a Header Row to My Table?
To add a header row, simply go to the Table block settings in WordPress. When editing your table, look for an option to designate the top row as the header. The header row will typically be displayed in bold or with a different background color to make it stand out, providing clarity on what each column represents.
How Do I Add Borders to My WordPress Table?
Adding borders to your table can be done easily through the Table block settings in WordPress. You can enable borders for each cell or just around the table itself. This is a great way to make your table more organized and visually appealing. Using borders helps to clearly separate data for better readability.
Can I Style Tables with Custom Fonts?
Yes, you can use custom fonts for your tables in WordPress. You can adjust the font style, size, and weight either through the block editor or by adding custom CSS. To make things easier, some table plugins also offer font customization features directly within the table settings, which saves you time from coding.
Can I Add Hyperlinks in Table Cells?
Yes, you can add hyperlinks within table cells in WordPress. When editing a cell, simply highlight the text you want to turn into a link and click the link button in the editor. This is useful for linking products, resources, or external websites directly within the table for easier navigation.
Conclusion
There is no need to struggle when it comes to creating useful and well-organized tables in WordPress. From using the simple Table block to trying helpful tools and plugins, you have many easy options to organize your content. Whether you want a minimalist style or something more decorative, you can customize your table to match your page.
Being familiar with how to create a table with multiple columns in WordPress helps you share information clearly, even on mobile devices. You can improve your user experience by keeping your tables short, readable, and responsive. With the right tools and a few simple steps, your tables can look great without needing to touch any code. Try the methods above and build better-looking, faster-loading tables that your readers will enjoy.

_348.jpg)